
Canva Video Enhancer: What It Does and Where It Stops
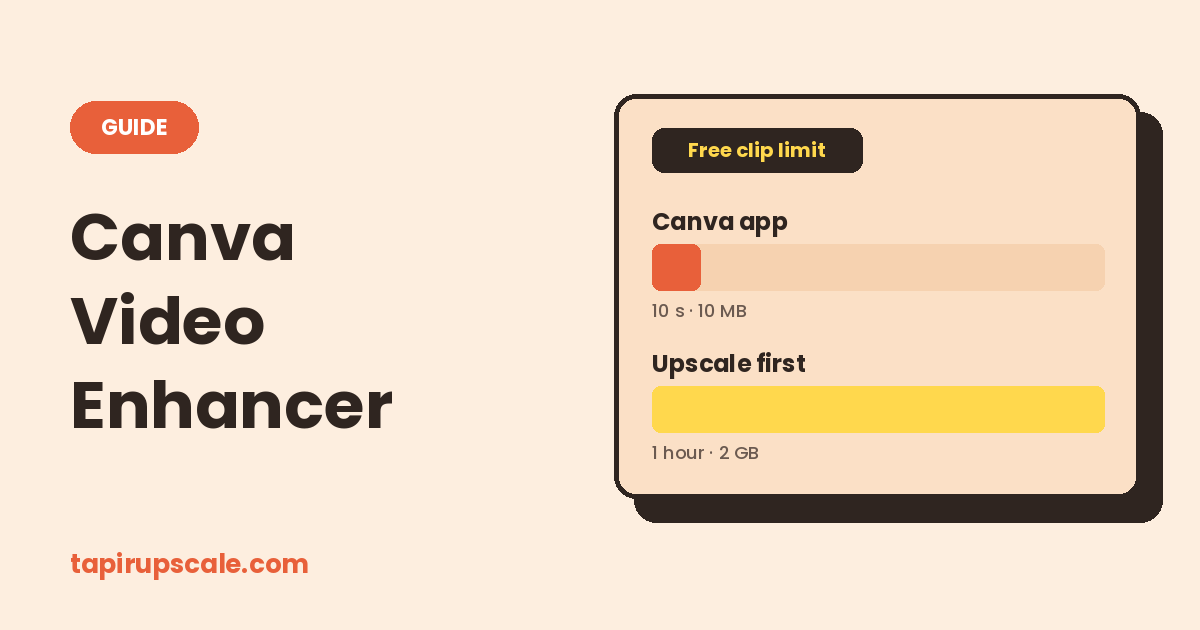
"Canva video enhancer" is two different things. Adjust changes light and colour. The Video Upscaler app raises the resolution, but Canva's own page says it is free only for MP4 clips up to 10 MB and 10 seconds.
If your video is longer than that, upscale it here first and then drop it into your Canva design. Add it below, compare one frame with the original, and download the MP4. It's free, with no sign-up and no watermark.
Upscale your video now
Free in your browser, or on a cloud GPU with Pro.
- No sign-up
- No watermark
- Up to 4K
Canva's limit against upscaling first 📏
| Canva's Video Upscaler app | Upscale here first | |
|---|---|---|
| Free clip length | 10 seconds | Up to 1 hour |
| Free file size | 10 MB | Up to 2 GB |
| Free formats | MP4 | MP4, MOV, WebM, MKV |
| Compare before you commit | After it generates | One-frame preview first |
| Where it runs | Canva's cloud | Your browser, or a cloud GPU with Pro |
Outside the free limit, reviewers report that the app accepts clips up to about 60 seconds and 30 MB and charges Canva credits for each one. Check the numbers shown in your own account, because they change.
Upscale first, then design in Canva 🚀
- Add your video in the box above and choose 2x. A 1080p clip becomes 4K and a 720p clip becomes 1440p.
- Render the preview and compare it with the original. Above 720p, choose the model described as best for live-action footage so the full AI model runs.
- Download the MP4.
- In Canva, open Uploads, add the new file and place it in your design.
- Add text, stickers and logos after. Canva draws them fresh at export, so they stay sharp. Text that is burned into a video before upscaling always looks softer.
- Download from Share > Download at the highest quality your plan offers.
Upscale each clip once. Running an already upscaled video through Canva's app again stacks artifacts.
Where the enhancer is in Canva 🔎
To raise the resolution:
- Open your design, click Apps in the side panel and search for "video upscaler".
- Open the Video Upscaler app and choose your uploaded clip.
- Turn on the upscale option and pick an output resolution, up to 4K.
- Pick an enhancement style, click Generate, then Add to design.
To fix light and colour: select the video, open Edit, then Adjust, and move brightness, contrast and saturation. This changes how the picture looks, not how many pixels it has.
Choosing a higher quality in the download window doesn't upscale either. It only decides how the frames you already have are saved.
When Canva's app is enough ✅
- The clip is a few seconds long and already in your design.
- It is a talking head or product shot that only has to look a little cleaner.
- You have credits to spend and don't mind waiting for the result before you can judge it.
For anything longer, upscaling first is quicker. And when a video is too long for your laptop, Pro runs it on a cloud GPU at our highest quality. You see the price before you pay, you can close the tab once the upload is done, and if a job fails the full price goes back to your credit. Credit starts at $5 and never expires, with no subscription.
Quick answers
Does Canva have a video enhancer? Yes, in two parts: Adjust for light and colour, and the Video Upscaler app for resolution.
Is Canva's video upscaler free? Canva says yes for MP4 clips up to 10 MB and 10 seconds. Beyond that, expect to spend credits.
Can Canva upscale video to 4K? The app offers output up to 4K, for short clips.
How do I enhance a longer video for Canva? Upscale the file first with the tool on this page, then upload the result to Canva and finish the design there.
Why does my Canva video still look blurry? Usually the source: heavy compression, motion blur or a missed focus. See how to unblur a video.
Got a video to sharpen?
Free in your browser, or on a cloud GPU with Pro.
- No sign-up
- No watermark
- Up to 4K